

Design Engineering is a class that I took, and one of our first projects was to create a nameplate. This had 5 steps.
The first step I took was to solder my wires together. Soldering is the process of melting tin onto two wires in order to keep them together permanently. My original soldering station was defective, so I tried the entire class before moving to the better station, in which I was done in five minutes. I had four wires to solder together – a battery back with a red and black wire, a resistor, and a lightbulb in my color of choice, green. Once the four were soldered together I put them down and moved onto the second step.
The second step to the process involved creating a wooden base to hold my nameplate. I went to the wood shop and I cut a piece of wood out using the band saw. Then I drilled a hole through the height of the entire piece, and another hole until the hole in the middle using the drill.
I’ve never actually worked in a wood shop before, so this was all a new experience for me. After this, I took the ban saw again, and measuring the length of the hole through the height, cut a chunk out until the hole to leave a long, rectangular hole for my nameplate. My cut was a little off, unfortunately, so I cut more off in width than expected.
Then came the third step – laser cutting my nameplate. I had previously used Adobe Illustrator to carve out a nameplate for myself using a template, leaving the smaller rectangular area to fit into the wooden base. Then, I used the laser cutter to carve my name into a piece of acrylic plastic.
It is incredibly satisfying to watch my name be carved into the acrylic, and soon it was over.
Then came the fourth and most important step – putting it all together. My wooden base was just a little too wide, so I had to put a thick double-sided tape into the hole in order to thin it out. Then, I stuck the lightbulb through the horizontal hole right under the nameplate and hot glued it in place. The ends of the wire started touching each other in the hole, so I wrapped tape around them to keep them apart, because otherwise, the resistor doesn’t work and the circuit overloads. Then, I placed the nameplate in the hole.
The last step is the 3-D printing step. We 3-D print a flair of sorts to attach to our nameplate in order to make it look prettier. To create it, we design our flair using Fusion 360. I chose to 3D print a spiral so I wouldn’t have to go through the trouble of cutting out a perfect rectangle that would attach to the top of my nameplate. The printing took about 3 hours, and in the end, I took out the extra supports, and my job was done.

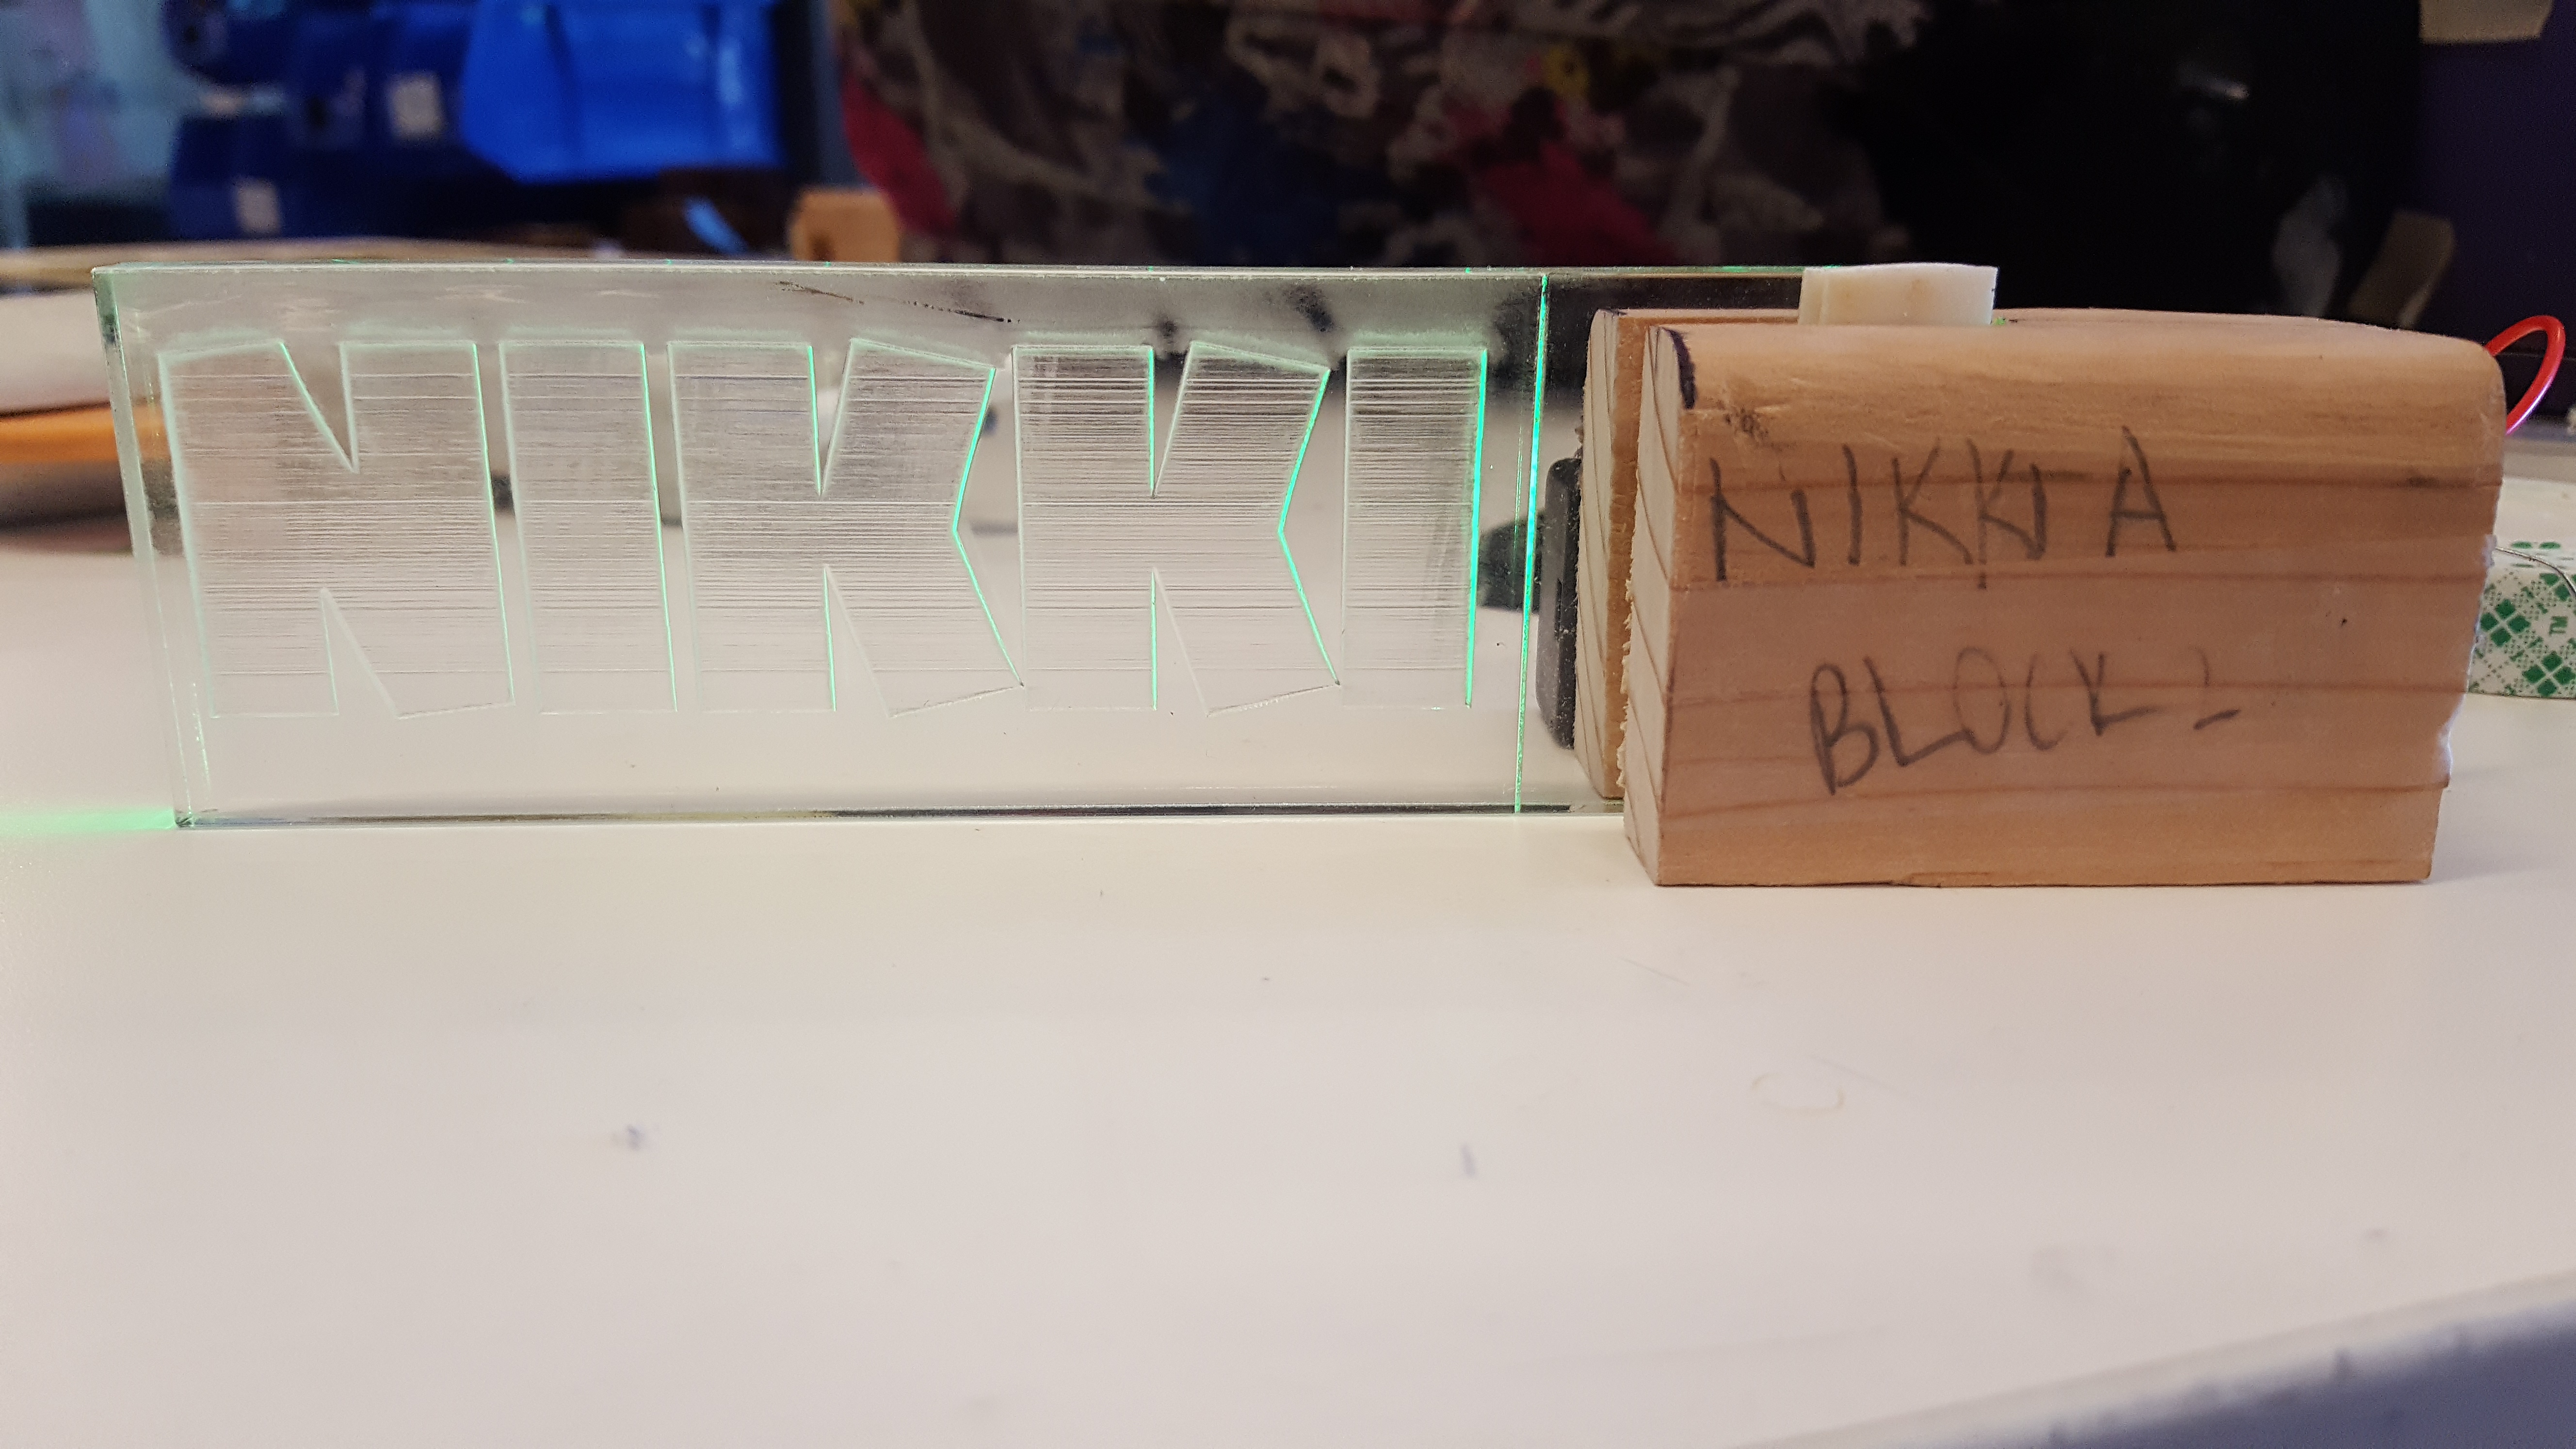
The nameplate without any lighting
The nameplate with lighting

A top view of the connection between the lightbulb, base, and nameplate, with the battery pack in the back.
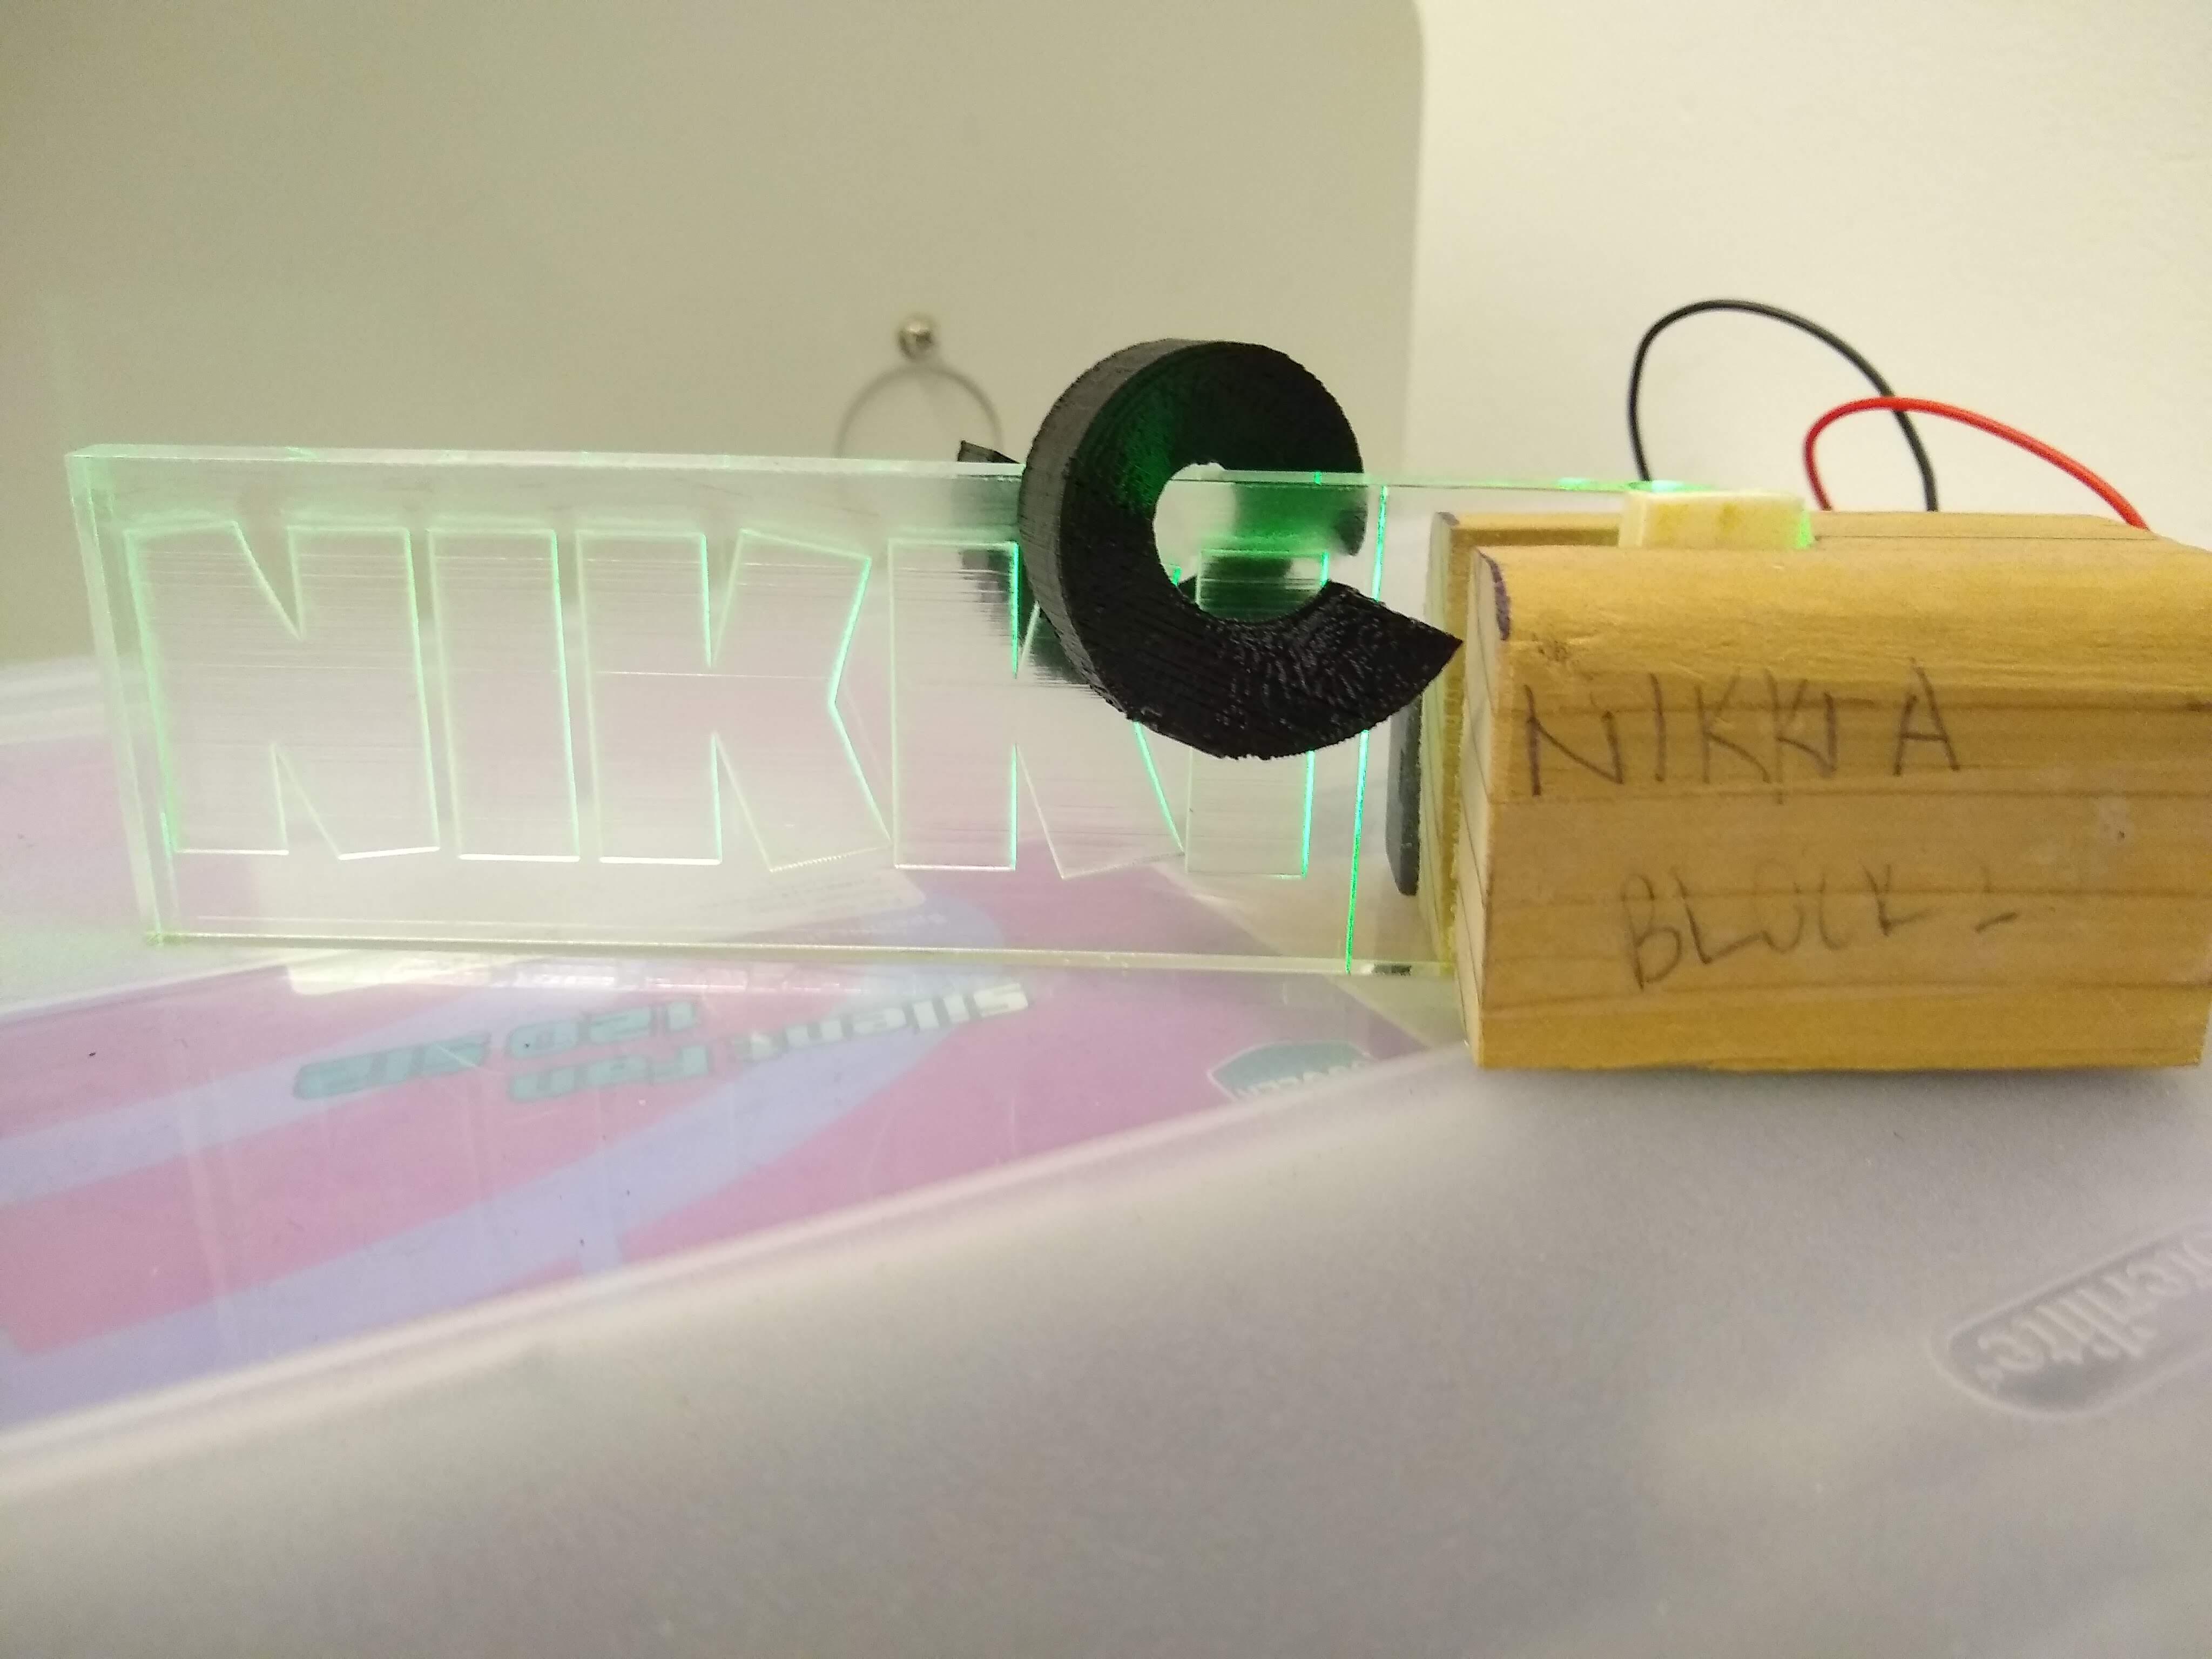
An image of the nameplate with the 3D printed flair on it.

Leave a comment